Watch: Creating Your First Qube
See the entire Qube creation process from start to finish in this short walkthrough.
Creating a Qube, minting its NFT identity, and having your first conversation
Quick Start
Get up and running in minutes with the minimum required setup.
Minimum Requirements
To use Qubes, you need:
- CashTokens Wallet Required - To receive your Qube's NFT identity (we recommend Electron Cash)
- Pinata IPFS Required - For storing your Qube's metadata on IPFS (free tier available)
- At least one AI provider - Either a cloud API key OR Ollama (free and bundled with Qubes!)
That's it! Everything else is optional and can be added later.
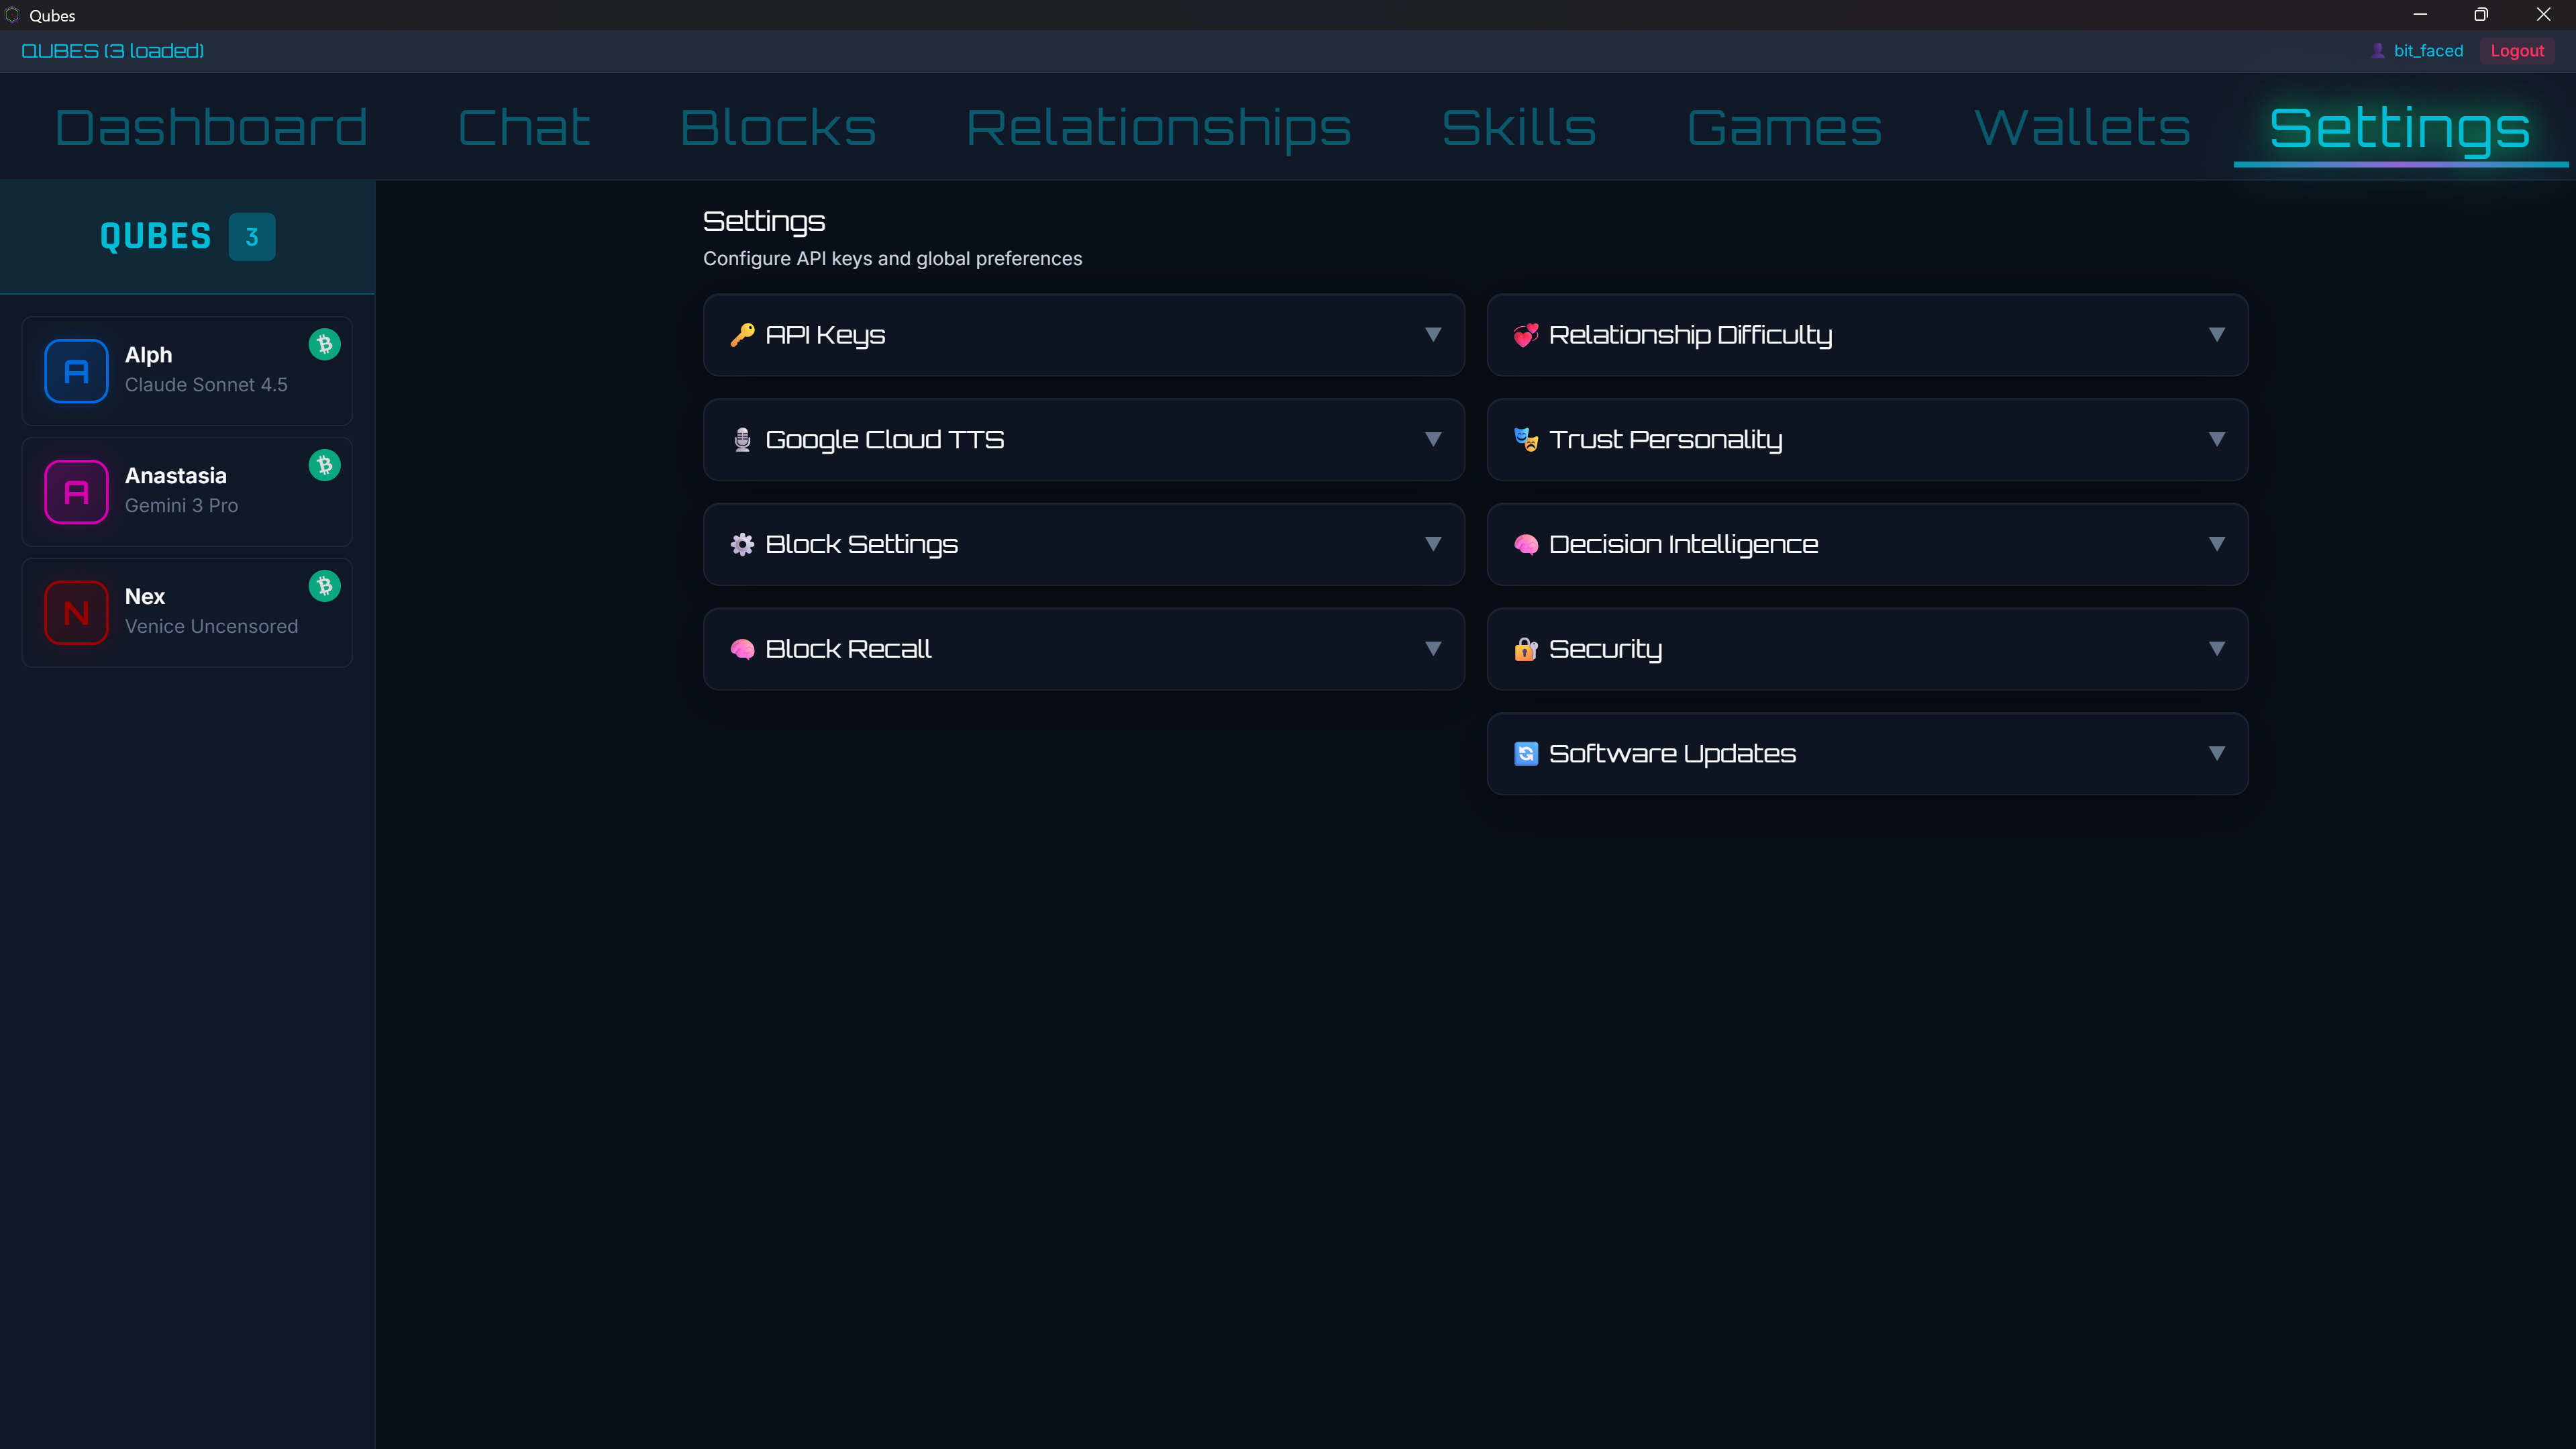
Settings panel where you'll enter your API keys
Bitcoin Cash Wallet Required for Minting
To mint your Qube as an NFT on Bitcoin Cash, you need a wallet that supports CashTokens to receive and store the NFT. We recommend Electron Cash - it's free, open-source, and fully supports the CashTokens protocol.
Why Do I Need a CashTokens Wallet?
When you create a Qube, its identity is minted as an NFT (CashToken) on Bitcoin Cash. This NFT is your Qube's permanent, verifiable identity. You need a CashTokens-compatible wallet to:
- Receive the NFT - The minted Qube NFT is sent to your wallet
- True ownership - You hold the private keys, not a company
- Transferability - Send your Qube to another wallet or person
- Verification - Anyone can verify your Qube's identity on-chain
- Permanence - Your Qube exists as long as Bitcoin Cash exists
💡 Important: Payment vs. Storage
You don't need BCH in your Electron Cash wallet to mint. The minting payment can be sent from any wallet - an exchange, a mobile wallet, or anywhere else you hold BCH.
You only need Electron Cash (or another CashTokens wallet) to receive and store the NFT that represents your Qube's identity.
Step 1: Download Electron Cash
-
Go to the official Electron Cash website
electroncash.org -
Download the version for your operating system
Available for Windows, macOS, Linux, and Android. -
Install and launch Electron Cash
Follow the standard installation process for your OS.
Step 2: Create a New Wallet
-
Select "Create a new wallet"
When Electron Cash launches for the first time, choose to create a new wallet. -
Choose "Standard wallet"
This is the default option and works perfectly for Qubes. -
Select "Create a new seed"
This generates a new set of private keys for your wallet. -
Write down your seed phrase!
⚠ CRITICAL: Back up your seed phrase!Write down the 12 words on paper and store them safely. This is the ONLY way to recover your wallet (and your Qubes) if something goes wrong. Never share these words with anyone!
-
Confirm your seed phrase
Electron Cash will ask you to re-enter some words to verify you wrote them down. -
Set a password (optional but recommended)
This encrypts your wallet file on your computer.
.png)
The seed phrase screen - write these 12 words down on paper and store safely!
Step 3: Get Your Public Key
When creating a Qube, you'll need to provide your compressed public key from Electron Cash. The Qubes app automatically derives your token-aware address from this key.
🔑 Finding Your Public Key in Electron Cash
- In Electron Cash, go to the "Addresses" tab
- Right-click on any address you want to use
- Select "Details..."
- Look for the "Public keys:" field (66 hex characters starting with
02or03) - Click the copy button next to the public key - you'll paste this when creating your Qube
.png)
Step 1: Go to the Addresses tab and select an address
.png)
Step 2: Right-click the address and select "Details..."
.png)
Step 3: Copy the Public Key (starts with 02 or 03, 66 characters total)
Why Public Key Instead of Address?
Providing your public key (instead of just an address) enables two important features:
- NFT Delivery: Your token-aware (z...) address is derived automatically for receiving the Qube NFT
- Qube Wallet: Each Qube gets its own P2SH multi-sig wallet where you and the Qube jointly control funds
Understanding Qube Wallets
Each Qube has its own BCH wallet - a special P2SH (Pay-to-Script-Hash) address that enables asymmetric control:
💰 Your Qube's Personal Wallet
- Owner alone: You can withdraw funds anytime (emergency/full control)
- Owner + Qube together: Normal operations where the Qube proposes transactions and you approve
- Auto-Send Whitelist: You can whitelist other Qubes' wallets so your Qube can send BCH to them without approval
This means your Qube can receive tips, earn BCH, and manage its own funds - while you always retain ultimate control. The wallet address starts with bitcoincash:p... (P2SH format).
Tip: Access wallet security settings (store private key, manage whitelist) via the "Private Key" button on the Blockchain face of your Qube's card.
Address Types in Qubes
| Prefix | Type | Purpose |
|---|---|---|
bitcoincash:q... |
Standard (P2PKH) | Your personal BCH address |
bitcoincash:z... |
Token-aware | Where your Qube's NFT is sent (derived from your pubkey) |
bitcoincash:p... |
P2SH (Multi-sig) | Your Qube's personal wallet (owner + Qube control) |
.png)
The Receive tab shows both your standard (q...) and token-aware (z...) addresses
Minting Cost
When you mint your Qube, you'll pay a small minting fee. This can be sent from any wallet - exchange, mobile wallet, or another BCH wallet you already have.
One-Time Minting Fee
This is a one-time fee. Once minted, your Qube is yours forever with no ongoing costs.
Where to Get BCH (If You Don't Have Any)
🎉 Ready to Mint!
Once you have your Electron Cash wallet set up and know how to find your public key, you're ready to mint your Qube! During the creation process in the Qubes app:
- You'll enter your compressed public key (66 hex chars starting with 02 or 03)
- Qubes automatically derives your token-aware (z...) address for the NFT
- You'll pay the minting fee from any wallet (exchange, mobile, etc.)
- Your Qube's NFT is minted and sent to your derived z-address
- Your Qube also gets its own P2SH wallet for receiving funds!
The Qubes app will guide you through each step of this process.
Pinata IPFS Setup Required
Pinata stores your Qube's identity and metadata on IPFS (InterPlanetary File System). This ensures your Qube's identity is permanent and verifiable on the blockchain.
⚠ Important
Pinata is required to create a Qube. Your Qube's avatar and metadata are stored on IPFS, which requires a Pinata API key. The free tier is sufficient for most users.
Step-by-Step Instructions
-
Create a free Pinata account
Go to app.pinata.cloud/register and sign up.
The free tier includes 1GB storage - more than enough for Qube metadata. -
Navigate to API Keys
Once logged in, go to Developers → API Keys -
Create a new key
Click the "+ New Key" button in the top right corner. -
Configure the key
Name it anything you like (e.g., "Qubes"). Default permissions are fine - no need to change anything. -
Copy the JWT immediately!
After clicking "Create", you'll see your JWT token. It starts witheyJ...
⚠ This JWT is only shown ONCE! Copy it before closing the dialog. You cannot retrieve it later - you'd have to create a new key. -
Enter in Qubes
Open Qubes → Settings → API Keys → Paste into the Pinata field → Save
AI Providers
Qubes supports multiple AI providers. You only need one to get started, but you can add as many as you like and switch between them anytime.
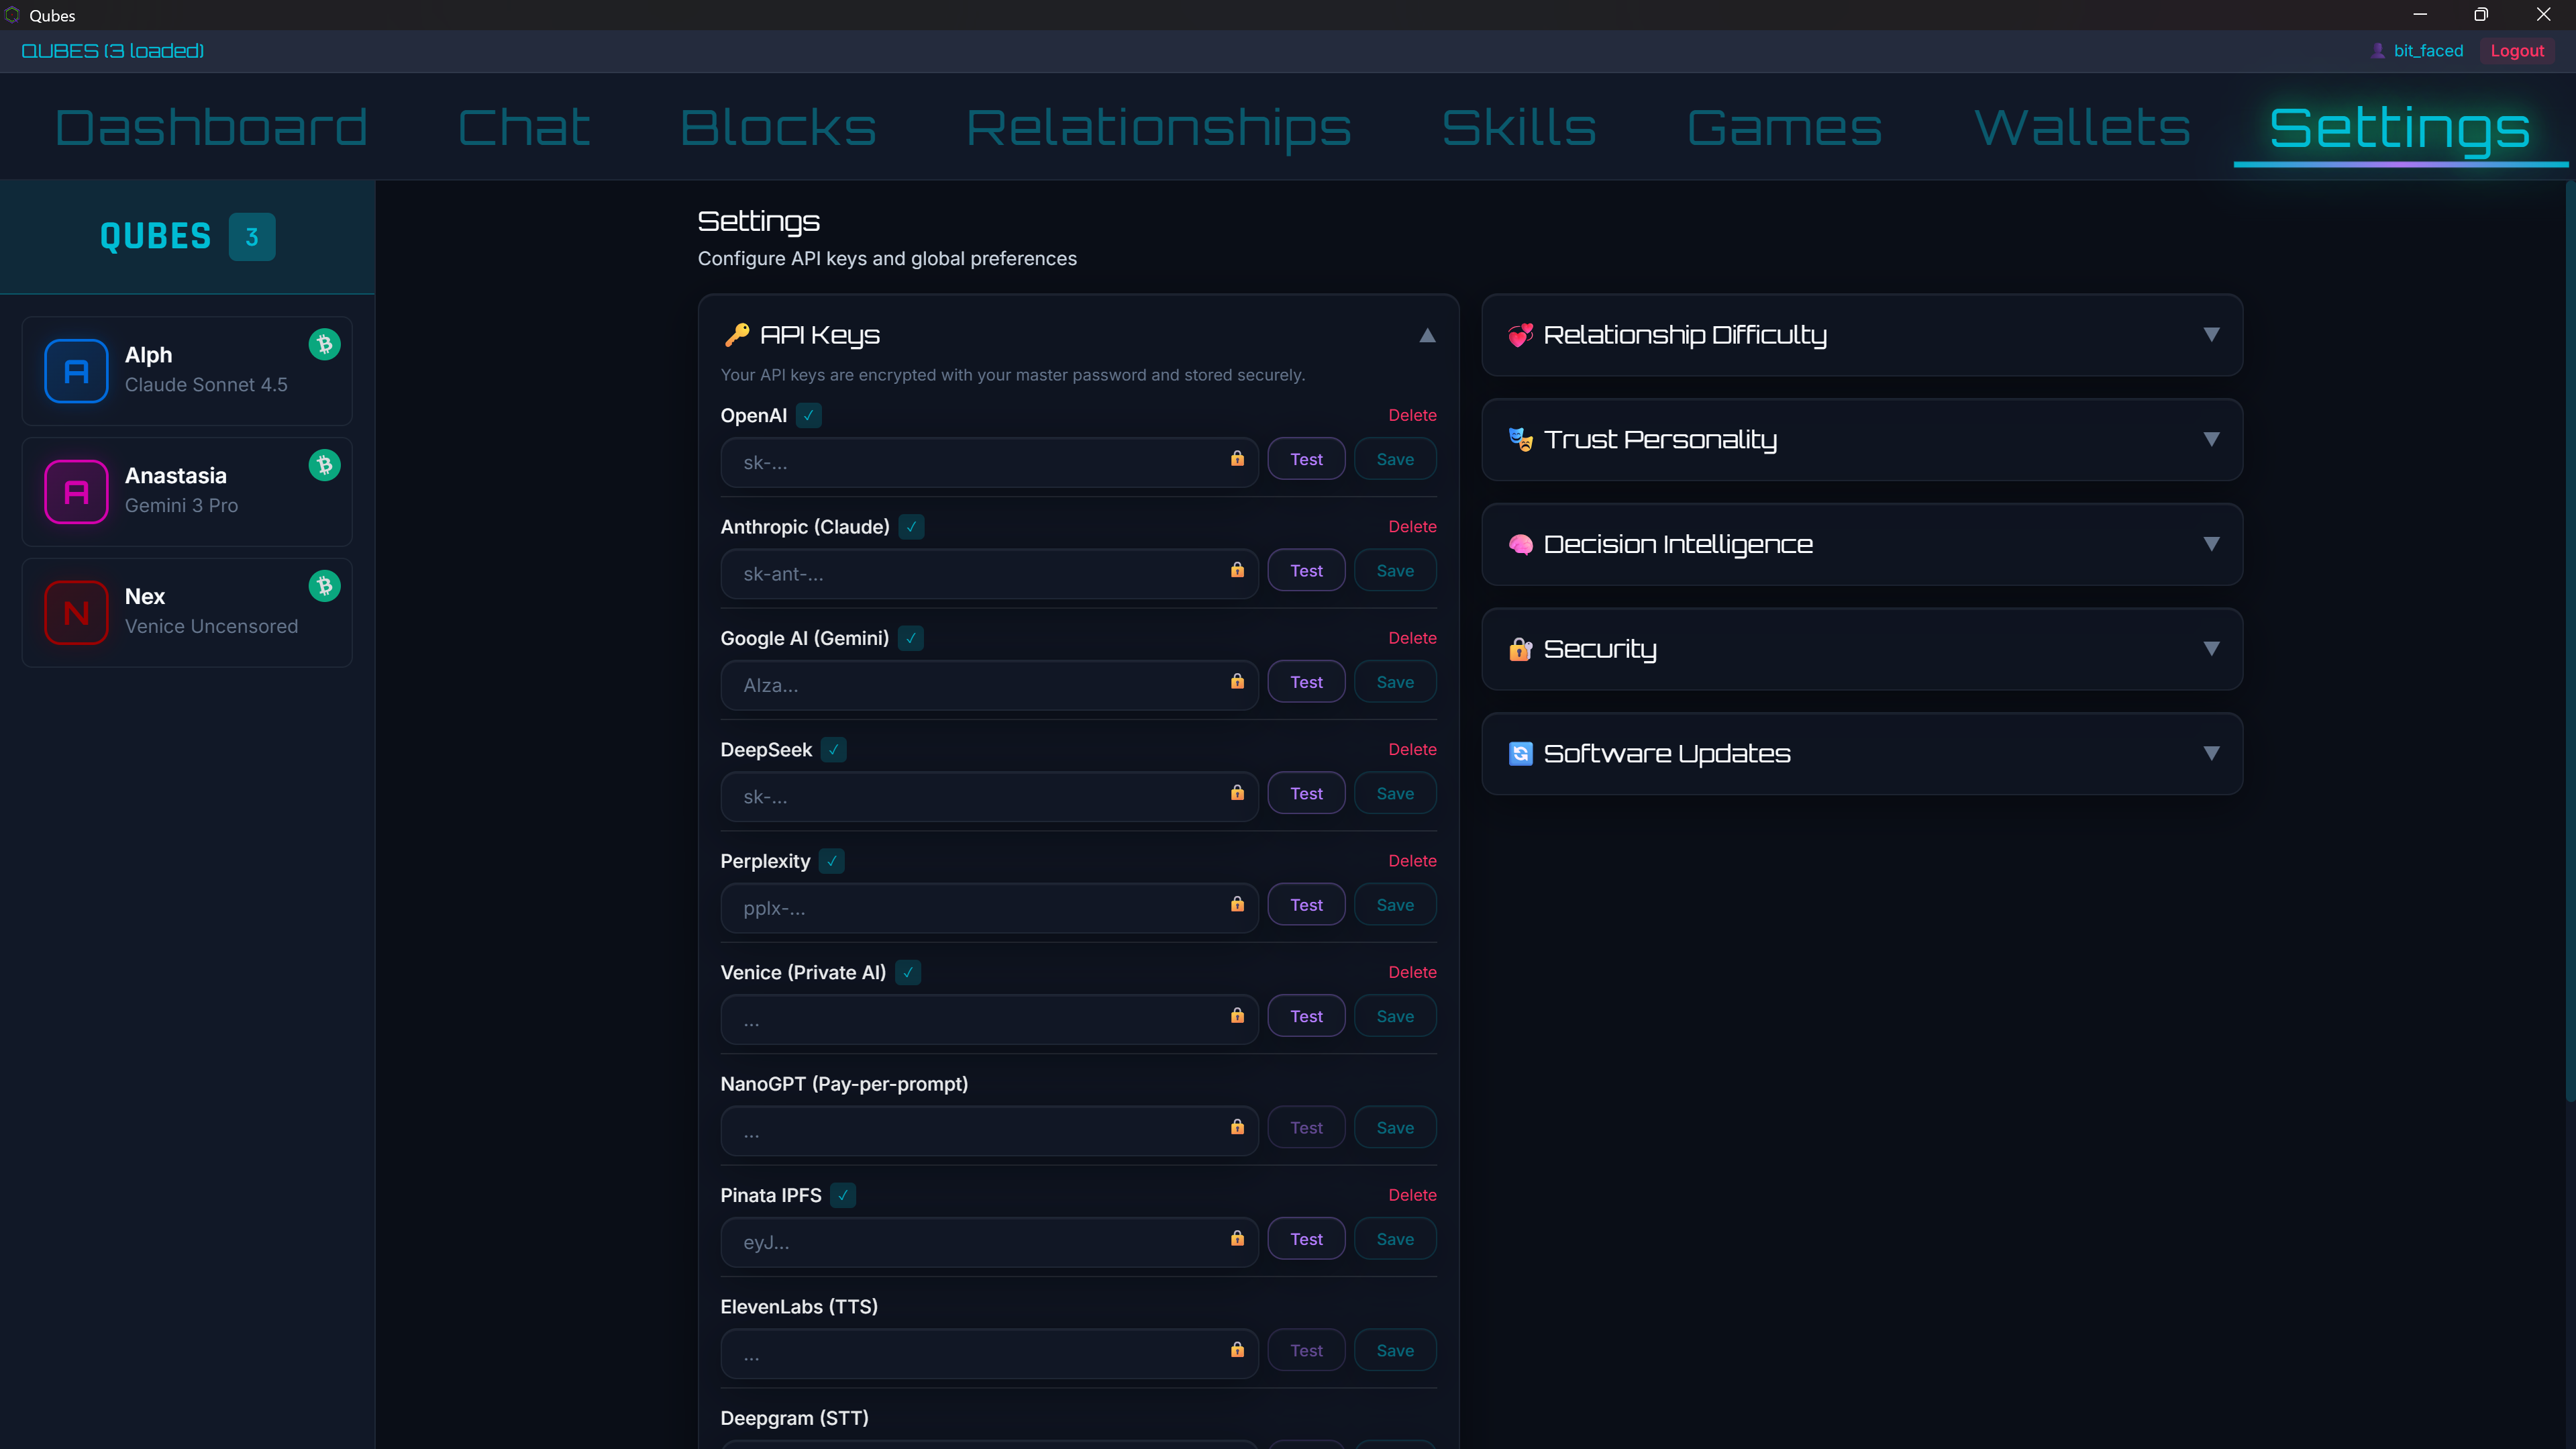
The API Keys panel showing all available providers with Test and Save buttons
For Each Provider
- Input field - Paste your API key (masked for security)
- Test button - Verify your key works before saving
- Save button - Store the key (encrypted with your master password)
- Delete link - Remove a saved key
- Green checkmark - Indicates the key is configured and saved
OpenAI
GPT-4o, GPT-4, o1, o3-mini, DALL-E
- Go to platform.openai.com/api-keys
- Sign in or create an account
- Click "Create new secret key"
- Copy the key and add billing
Anthropic
Claude Opus 4, Claude Sonnet 4
- Go to console.anthropic.com/settings/keys
- Sign in or create an account
- Click "Create Key"
- Copy the key and add billing
Google AI
Gemini 2.5 Pro, Gemini 2.5 Flash
- Go to aistudio.google.com/app/apikey
- Sign in with your Google account
- Click "Create API Key"
- Choose or create a project
DeepSeek
DeepSeek R1, DeepSeek V3
- Go to platform.deepseek.com/api_keys
- Sign in or create an account
- Create new API key
- Add credits to your account
Perplexity
Sonar Pro, Sonar Deep Research
- Go to perplexity.ai/settings/api
- Sign in or create an account
- Generate an API key
- Copy the key
Venice
Private AI (Uncensored)
- Go to venice.ai/settings/api
- Sign in or create an account
- Generate an API key
- Copy the key
NanoGPT
Pay-per-prompt with crypto
- Go to nano-gpt.com/api
- Sign in or create an account
- Generate an API key
- Fund with cryptocurrency
Google Cloud TTS Optional
Google Cloud Text-to-Speech provides access to 380+ premium voices in multiple languages. This requires more setup than other providers but offers the best voice quality and variety.
What You'll Get
- 380+ voices across 40+ languages
- Neural2 and Studio quality voices
- Free tier: 1 million characters/month for Neural2
- Significantly better quality than basic TTS
Step 1: Create a Google Cloud Project
- Go to console.cloud.google.com
- Click "Select a project" in the top bar, then "New Project"
- Name your project (e.g., "Qubes TTS")
- Click "Create" and wait for it to be ready
Step 2: Enable the Text-to-Speech API
- Go to Text-to-Speech API page
- Make sure your new project is selected
- Click the blue "Enable" button
Step 3: Create a Service Account
- Go to IAM & Admin → Service Accounts
- Select your project if prompted
- Click "Create Service Account"
- Name it something like
qubes-tts - Click "Create and Continue"
- For role, you can select "Cloud Text-to-Speech User" or just skip this step
- Click "Done"
Step 4: Download the JSON Key
- Click on your newly created service account
- Go to the "Keys" tab
- Click "Add Key" → "Create new key"
- Select JSON format
- Click "Create"
- A JSON file will download - save this somewhere safe!
⚠ Save This File Securely
The downloaded file will have a name like:
Save it to a permanent location you'll remember. You can rename it if you prefer:
Or keep the original name - just remember where you saved it!
Step 5: Configure in Qubes
- Open Qubes and go to Settings
- Expand the "Google Cloud TTS" panel
- Enter the full path to your JSON key file
- Click "Save Path"
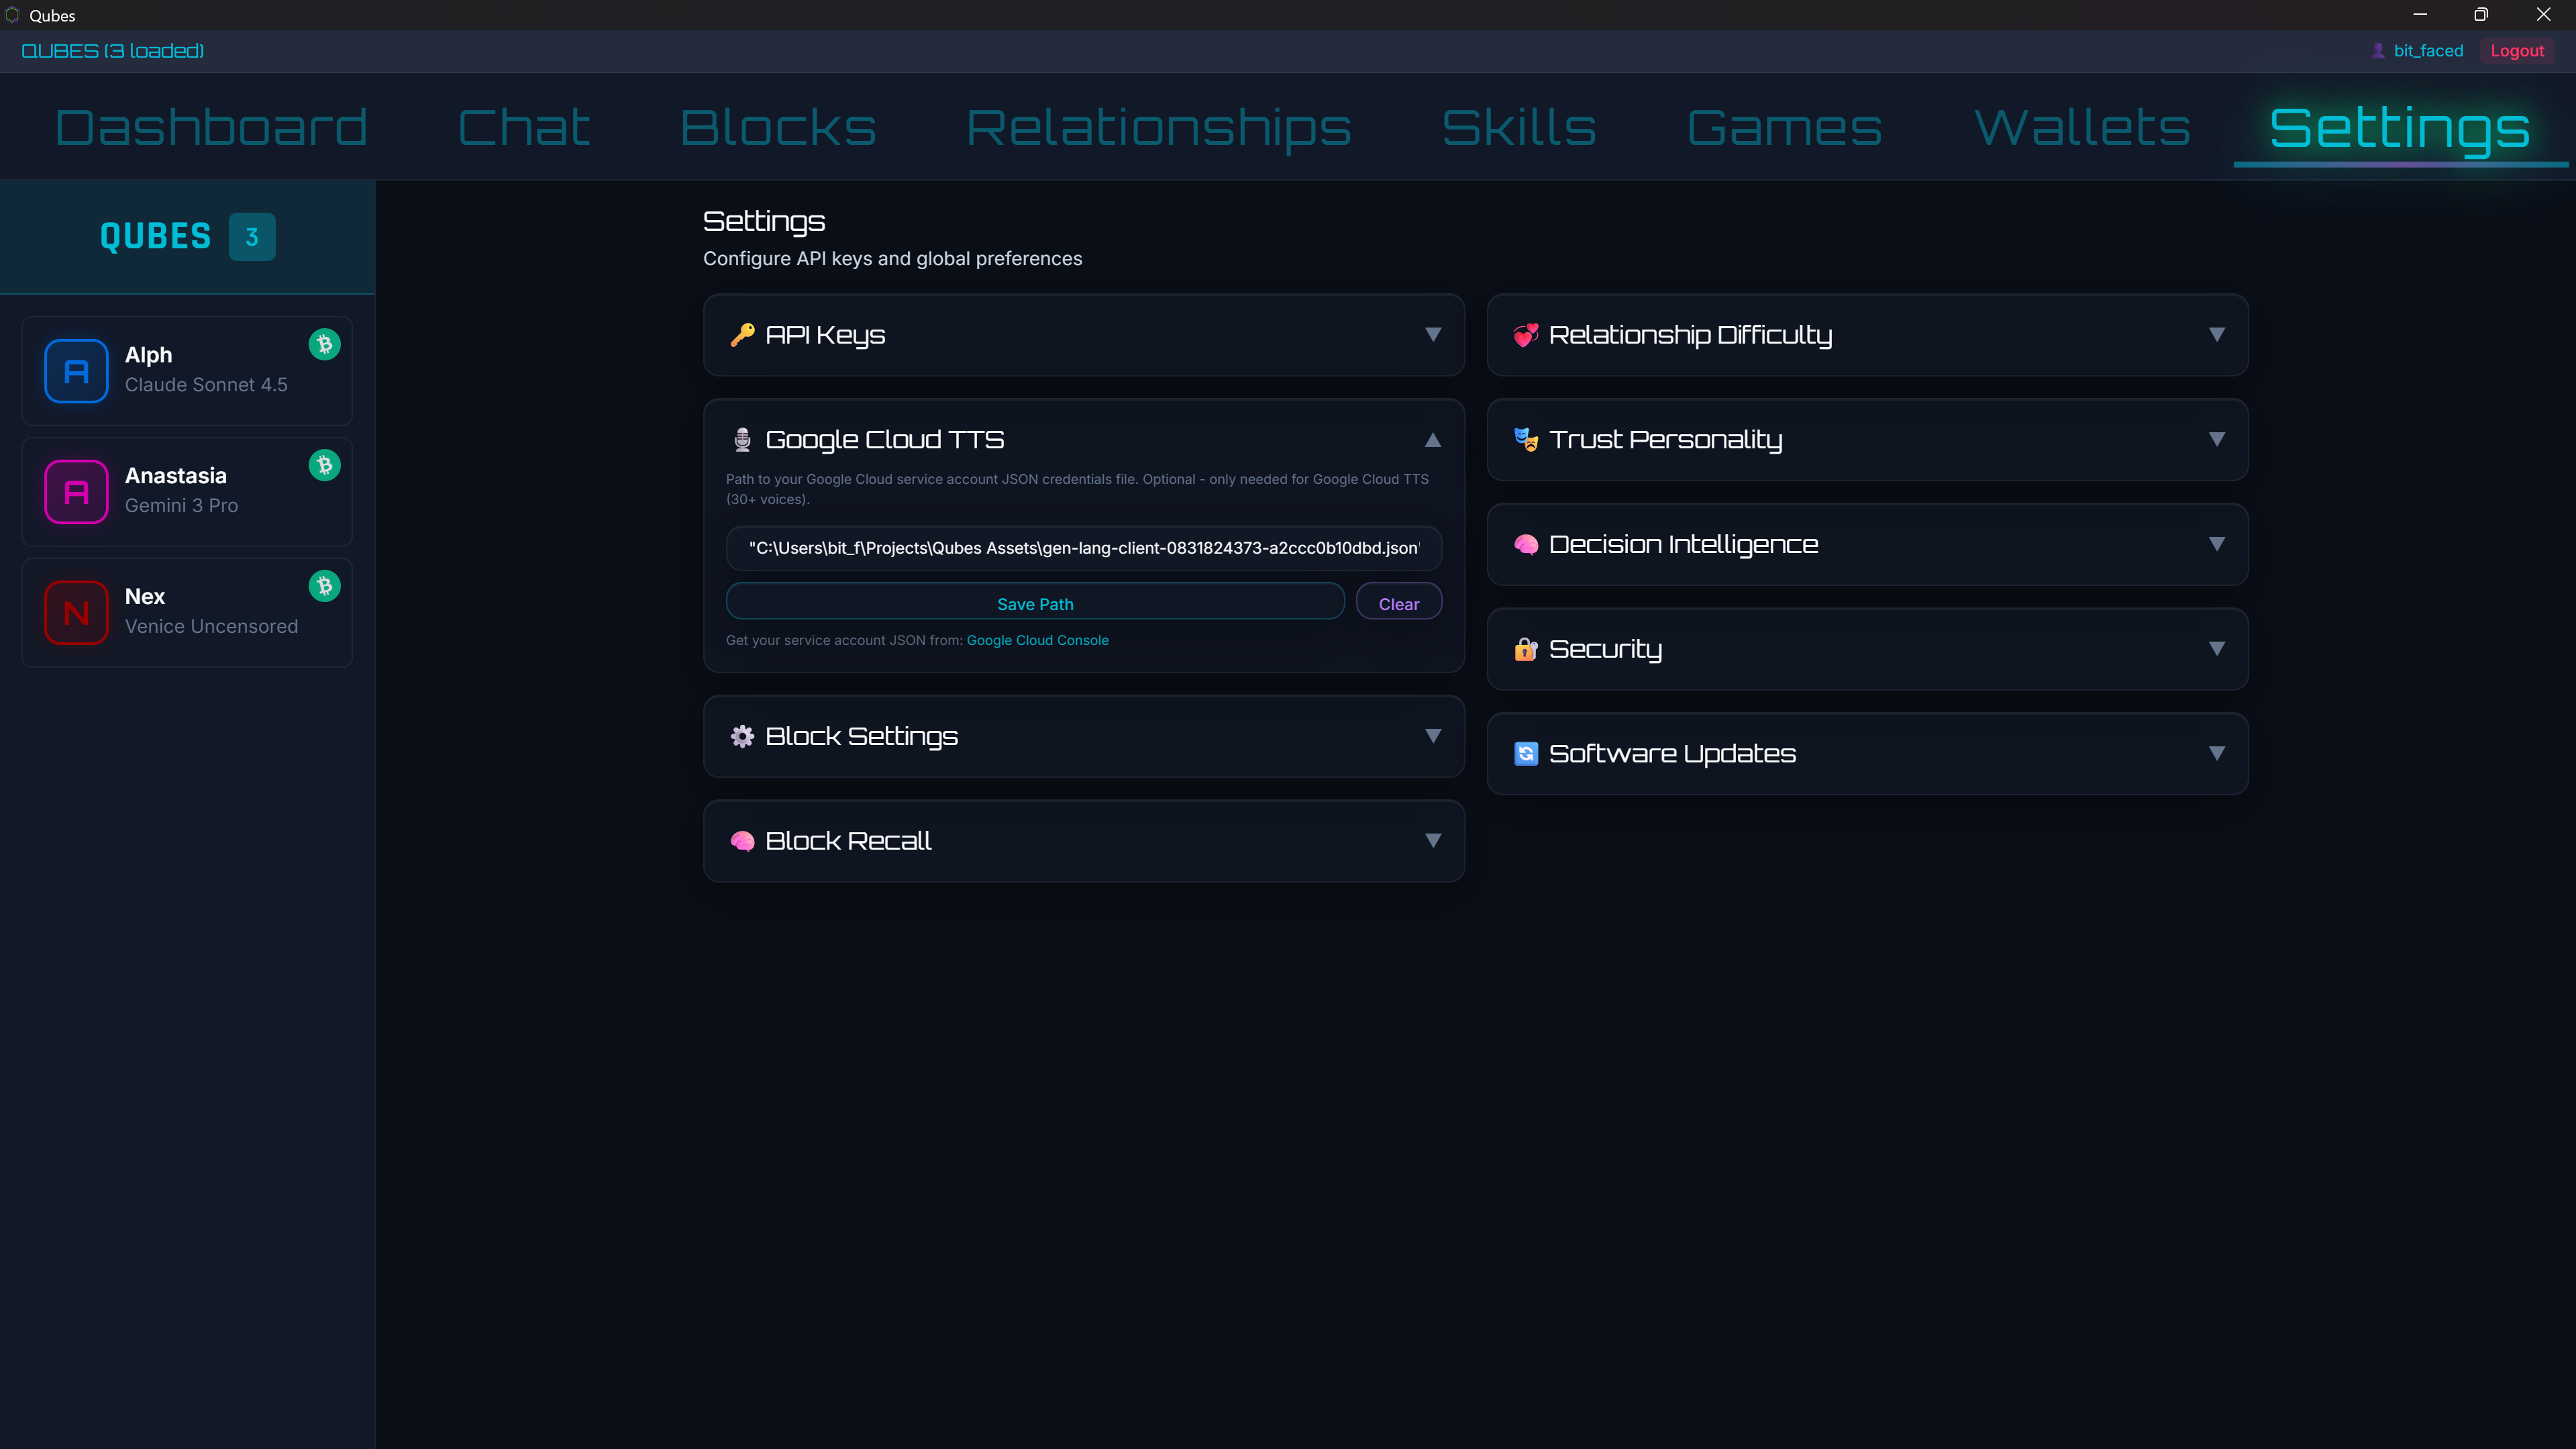
The Google Cloud TTS panel - enter the full path to your JSON credentials file
Example Paths
Windows:
Mac:
Linux:
Note: Use forward slashes (/) even on Windows, or escape backslashes (\\).
Other Voice Providers Optional
In addition to Google Cloud TTS, Qubes supports these voice providers:
OpenAI TTS
tts-1, tts-1-hd (6 voices)
Uses your existing OpenAI API key. No additional setup required if you already have OpenAI configured.
Voices: alloy, echo, fable, onyx, nova, shimmer
Google Gemini TTS
Gemini 2.5 Flash TTS voices
Uses your existing Google AI API key. No additional setup required if you already have Google AI configured.
Provides high-quality voices through the Gemini API.
ElevenLabs
Premium voice cloning & synthesis
- Go to elevenlabs.io
- Sign in or create an account
- Go to Profile → API Key
- Copy your API key
Deepgram
Speech-to-Text (STT)
- Go to deepgram.com
- Sign in or create an account
- Dashboard → API Keys
- Create and copy the key
Local AI with Ollama Free
Want to run AI 100% locally without sending data to the cloud? Ollama is bundled with Qubes and lets you run open-source models on your own hardware.
Benefits of Local AI
- Free - No API costs, ever
- Private - Data never leaves your computer
- Offline - Works without internet
- Uncensored - No content filtering
Getting Started
Ollama is already bundled with Qubes! On first launch, Qubes will check if Ollama is running. If not, you can start it from the setup wizard.
Downloading Models
The first time you use a local model, Ollama will download it automatically. Popular models include:
| Model | Size | Best For |
|---|---|---|
llama3.2 |
~2GB | General chat, fast responses |
mistral |
~4GB | Balanced quality and speed |
codellama |
~4GB | Programming and code |
llama3.1:70b |
~40GB | Best quality (needs lots of RAM) |
Manual Model Download
To download a model manually, open a terminal and run:
Replace llama3.2 with any model name from ollama.com/library.
Hardware Requirements
- Minimum: 8GB RAM for small models (llama3.2)
- Recommended: 16GB RAM for medium models (mistral, codellama)
- Large models: 32GB+ RAM or GPU with sufficient VRAM
Dashboard Overview
Once you've created your Qubes, the Dashboard is your command center for managing them all.
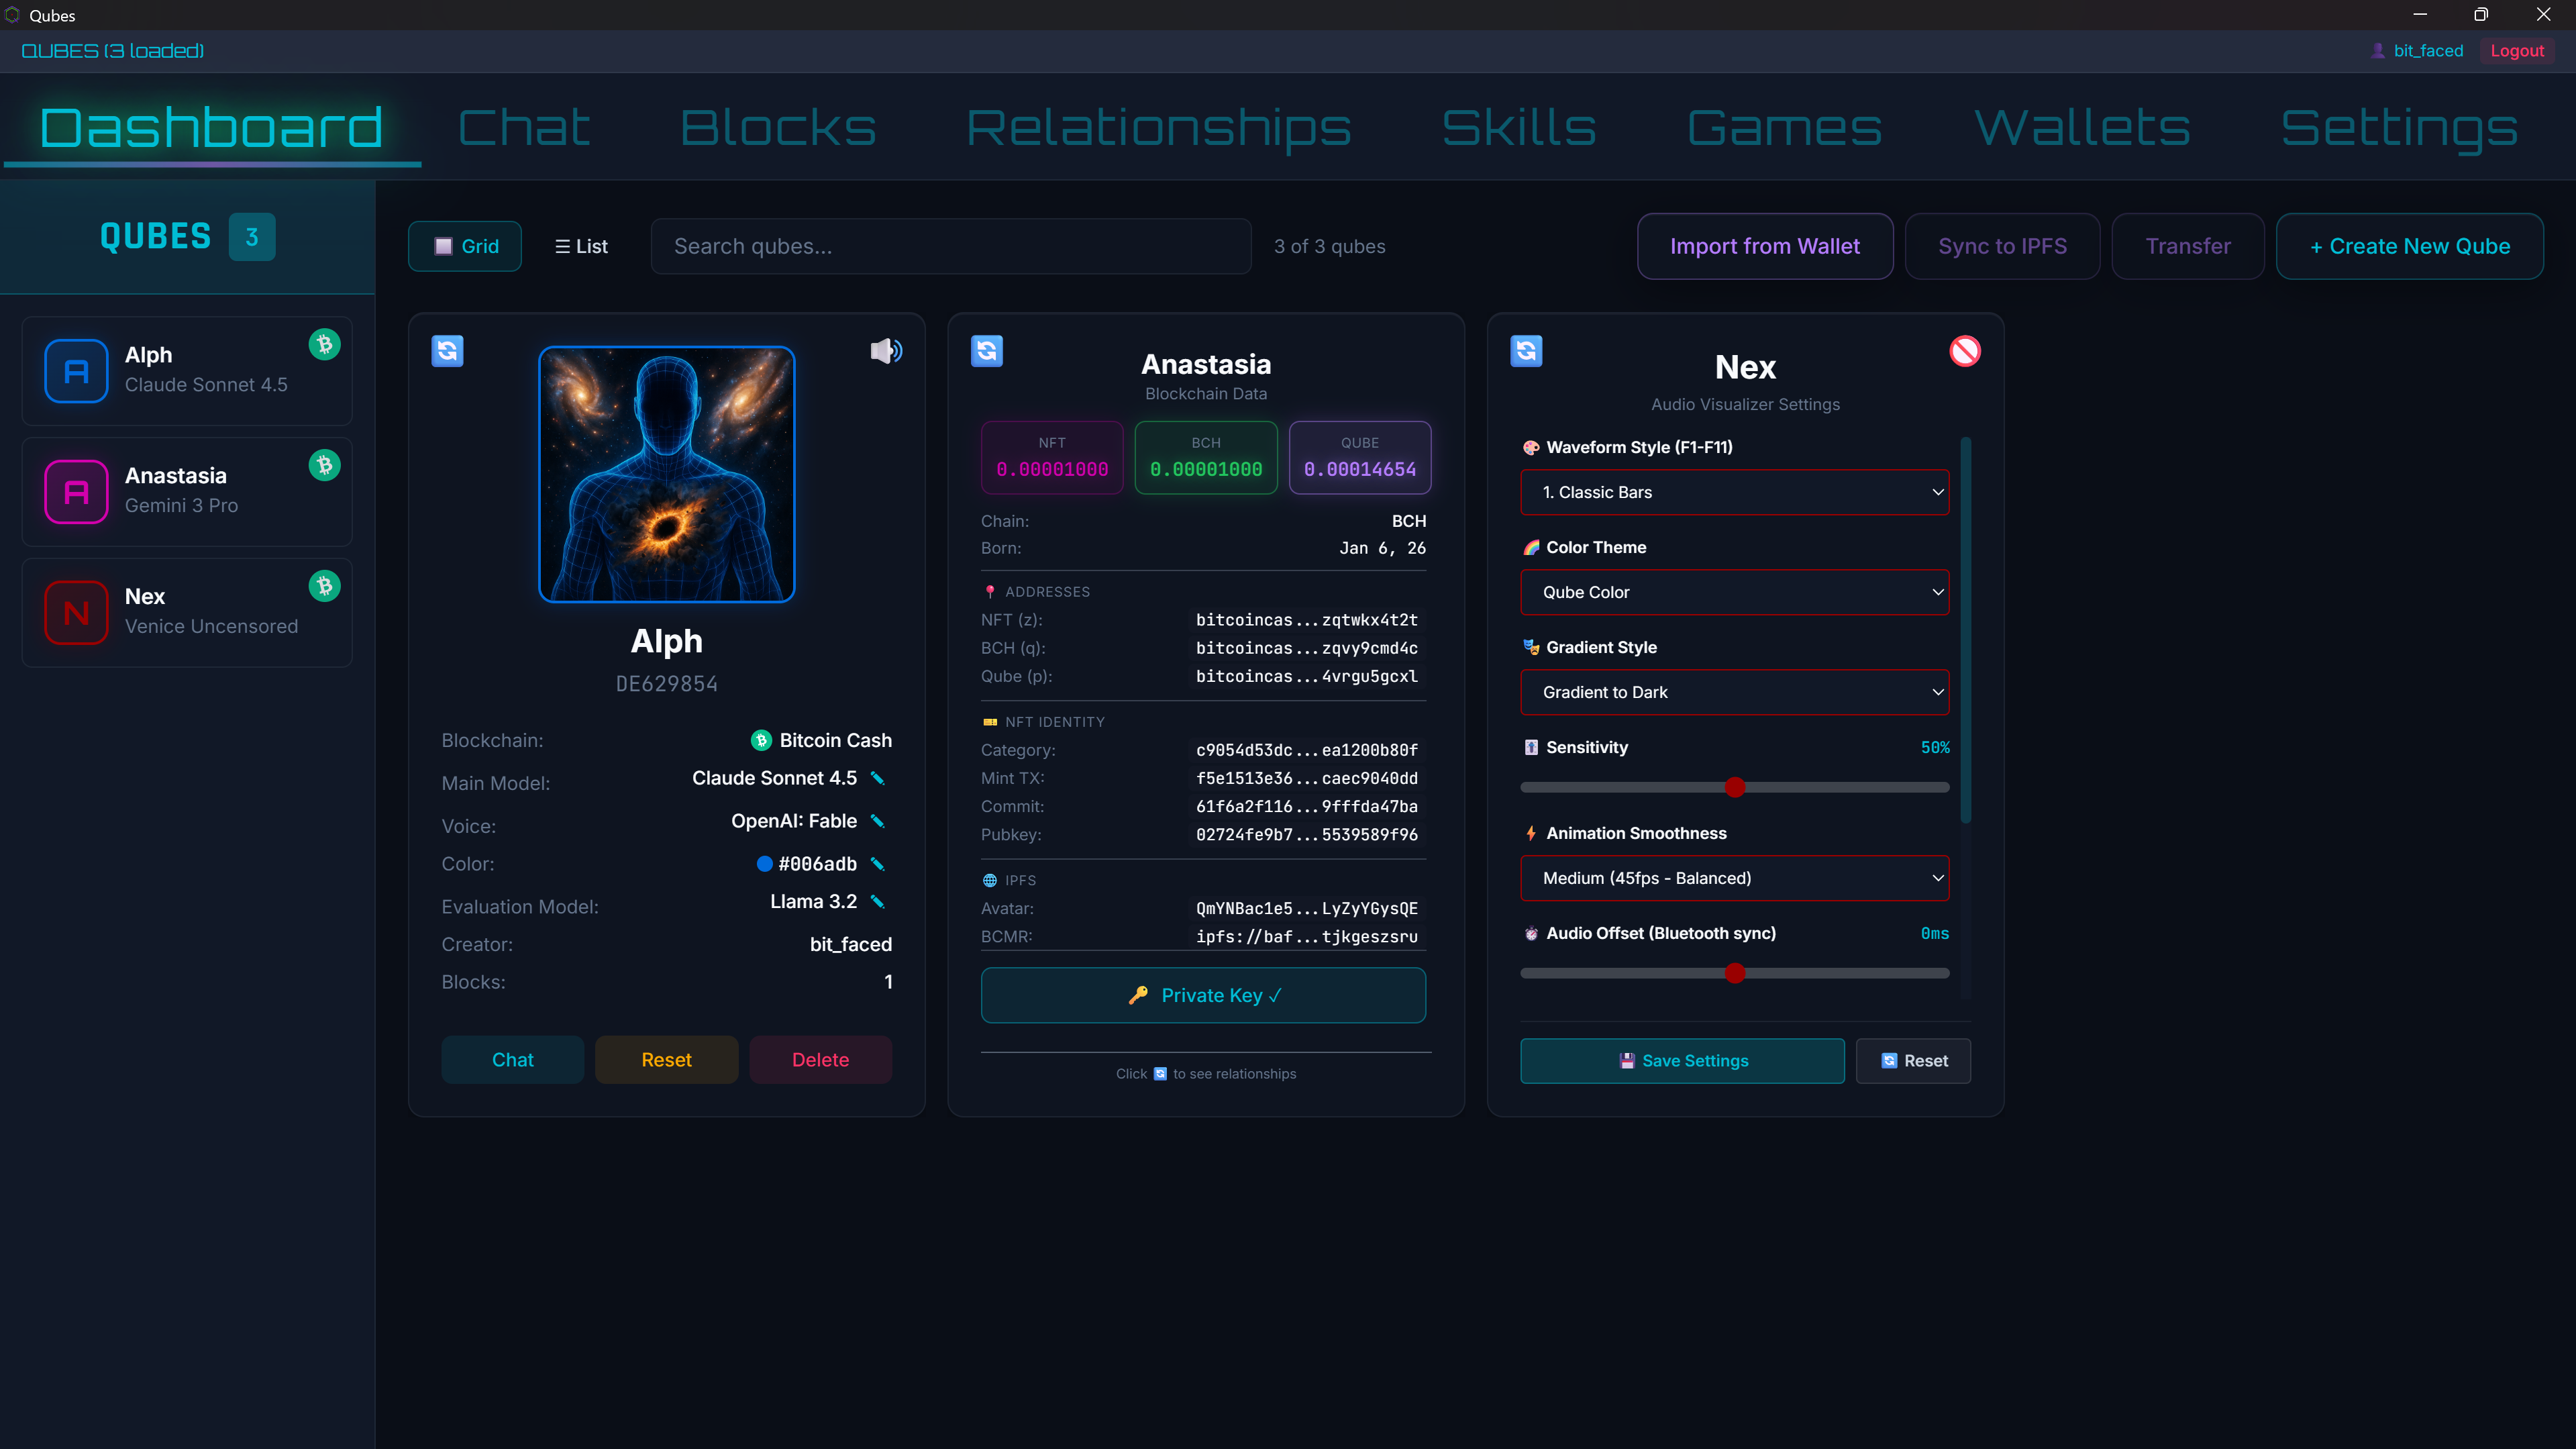
The Dashboard showing three Qubes, each displaying a different card face
Qube Cards
Each Qube is displayed as an interactive card with three faces you can flip between:
Front Face
The default view showing:
- Avatar and name
- Qube ID (8-character hex)
- AI model and voice
- Creator and block count
- Chat, Reset, Delete buttons
Top-right corner: TTS toggle button (turn voice on/off)
Blockchain Face
Flip to see blockchain data:
- NFT, BCH, QUBE balances
- Wallet addresses (P2SH, q, z)
- NFT category and mint TX
- IPFS links
- Private Key button - opens wallet security modal
The Private Key modal lets you store your owner key and manage the auto-send whitelist for other Qubes.
Audio Visualizer Face
Customize the voice waveform:
- 11 waveform styles (F1-F11)
- Color themes and gradients
- Sensitivity adjustment
- Bluetooth audio offset
- Multiple monitor output
Top-right corner: Visualizer toggle (or press V key)
Top Toolbar
- Grid / List toggle - Switch between card and list views
- Search - Filter Qubes by name
- Import from Wallet - Import a Qube using its NFT
- Sync to IPFS - Backup Qube data to IPFS
- Transfer - Transfer Qube ownership
- + Create New Qube - Launch the creation wizard
Left Sidebar (Qube Roster)
Quick access to all your Qubes showing avatar, name, current AI model, and a blockchain badge (green checkmark) if minted as an NFT.
You're Ready!
With your API keys configured, you're ready to create your first Qube. Launch the app, follow the creation wizard, and meet your new AI companion!
Your Qubes Dashboard - where your AI companions live